Assets are items within your organisation that are used to deliver your service. Because we focus on compliance, we are looking at things that have a procedure, and need regular checking to that procedure. This could be anything from the night time security rounds, through to lift evacuation kits.
We’ll get to the specific of Asset Checks in another article, but if you have your Assets feel free to skip to that!
First time here? Check out Getting Started with Asset Management.
Pre-requisites
Before you create an asset you will require:
- Set up your Asset Types
- Set up your Areas and Locations (where your assets are stored and housed)
You will also need to be an Asset Manager in Medic52.
Creating an Asset
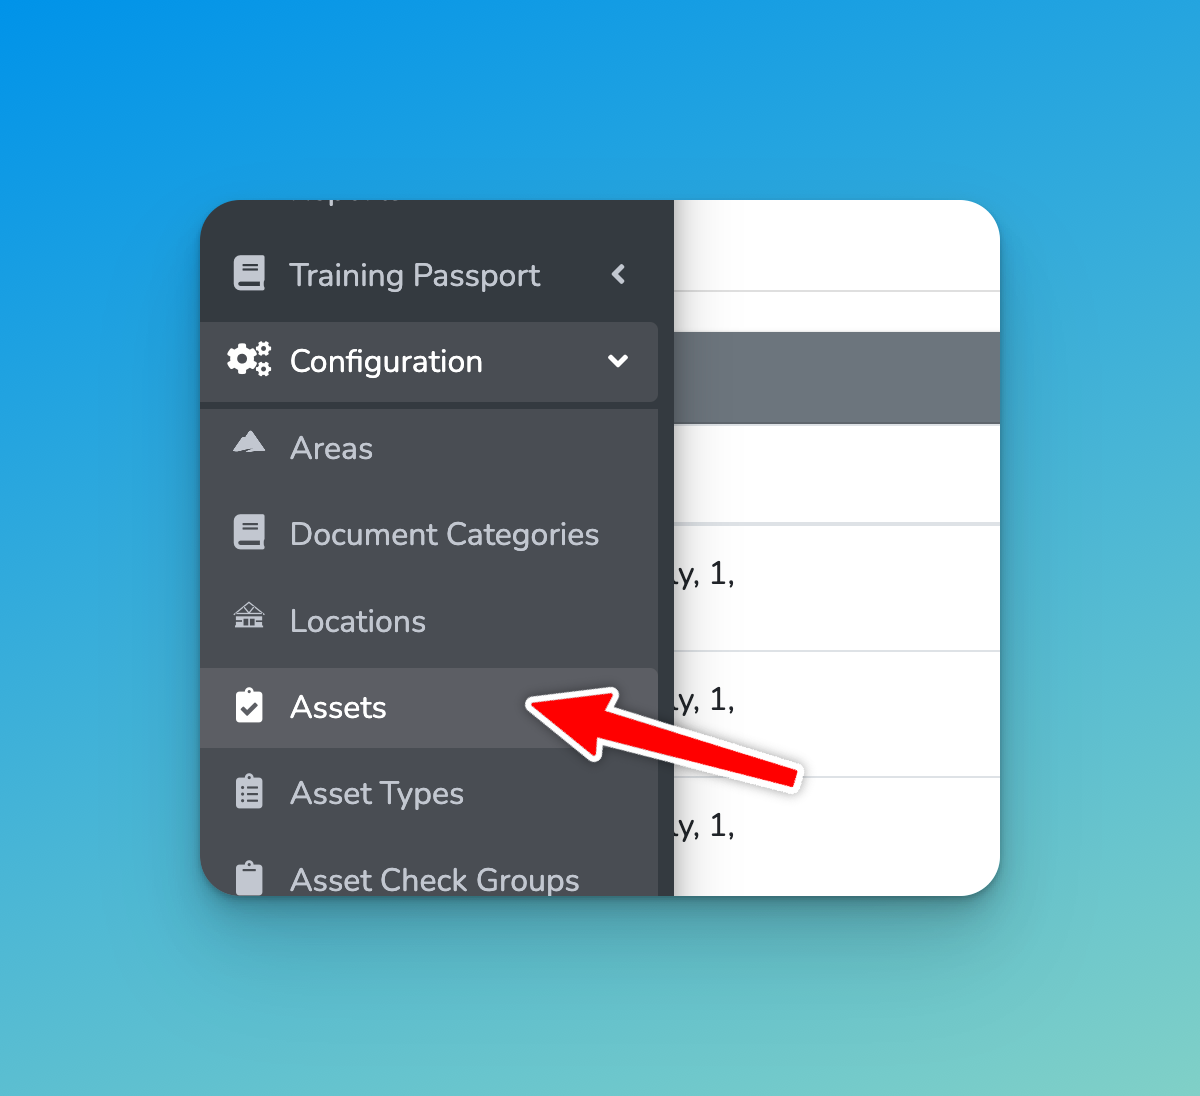
Open the left menu look for Configuration > Assets
In the top right you will click on Create and select one of Assets, Lift or Trail.
Let’s start with an Asset.

Fill in the following:
- Name (something useful like the label on the front of the asset)
- Type – select the Asset Type you created earlier
- Area
- Location (will be blank until you select an Area)
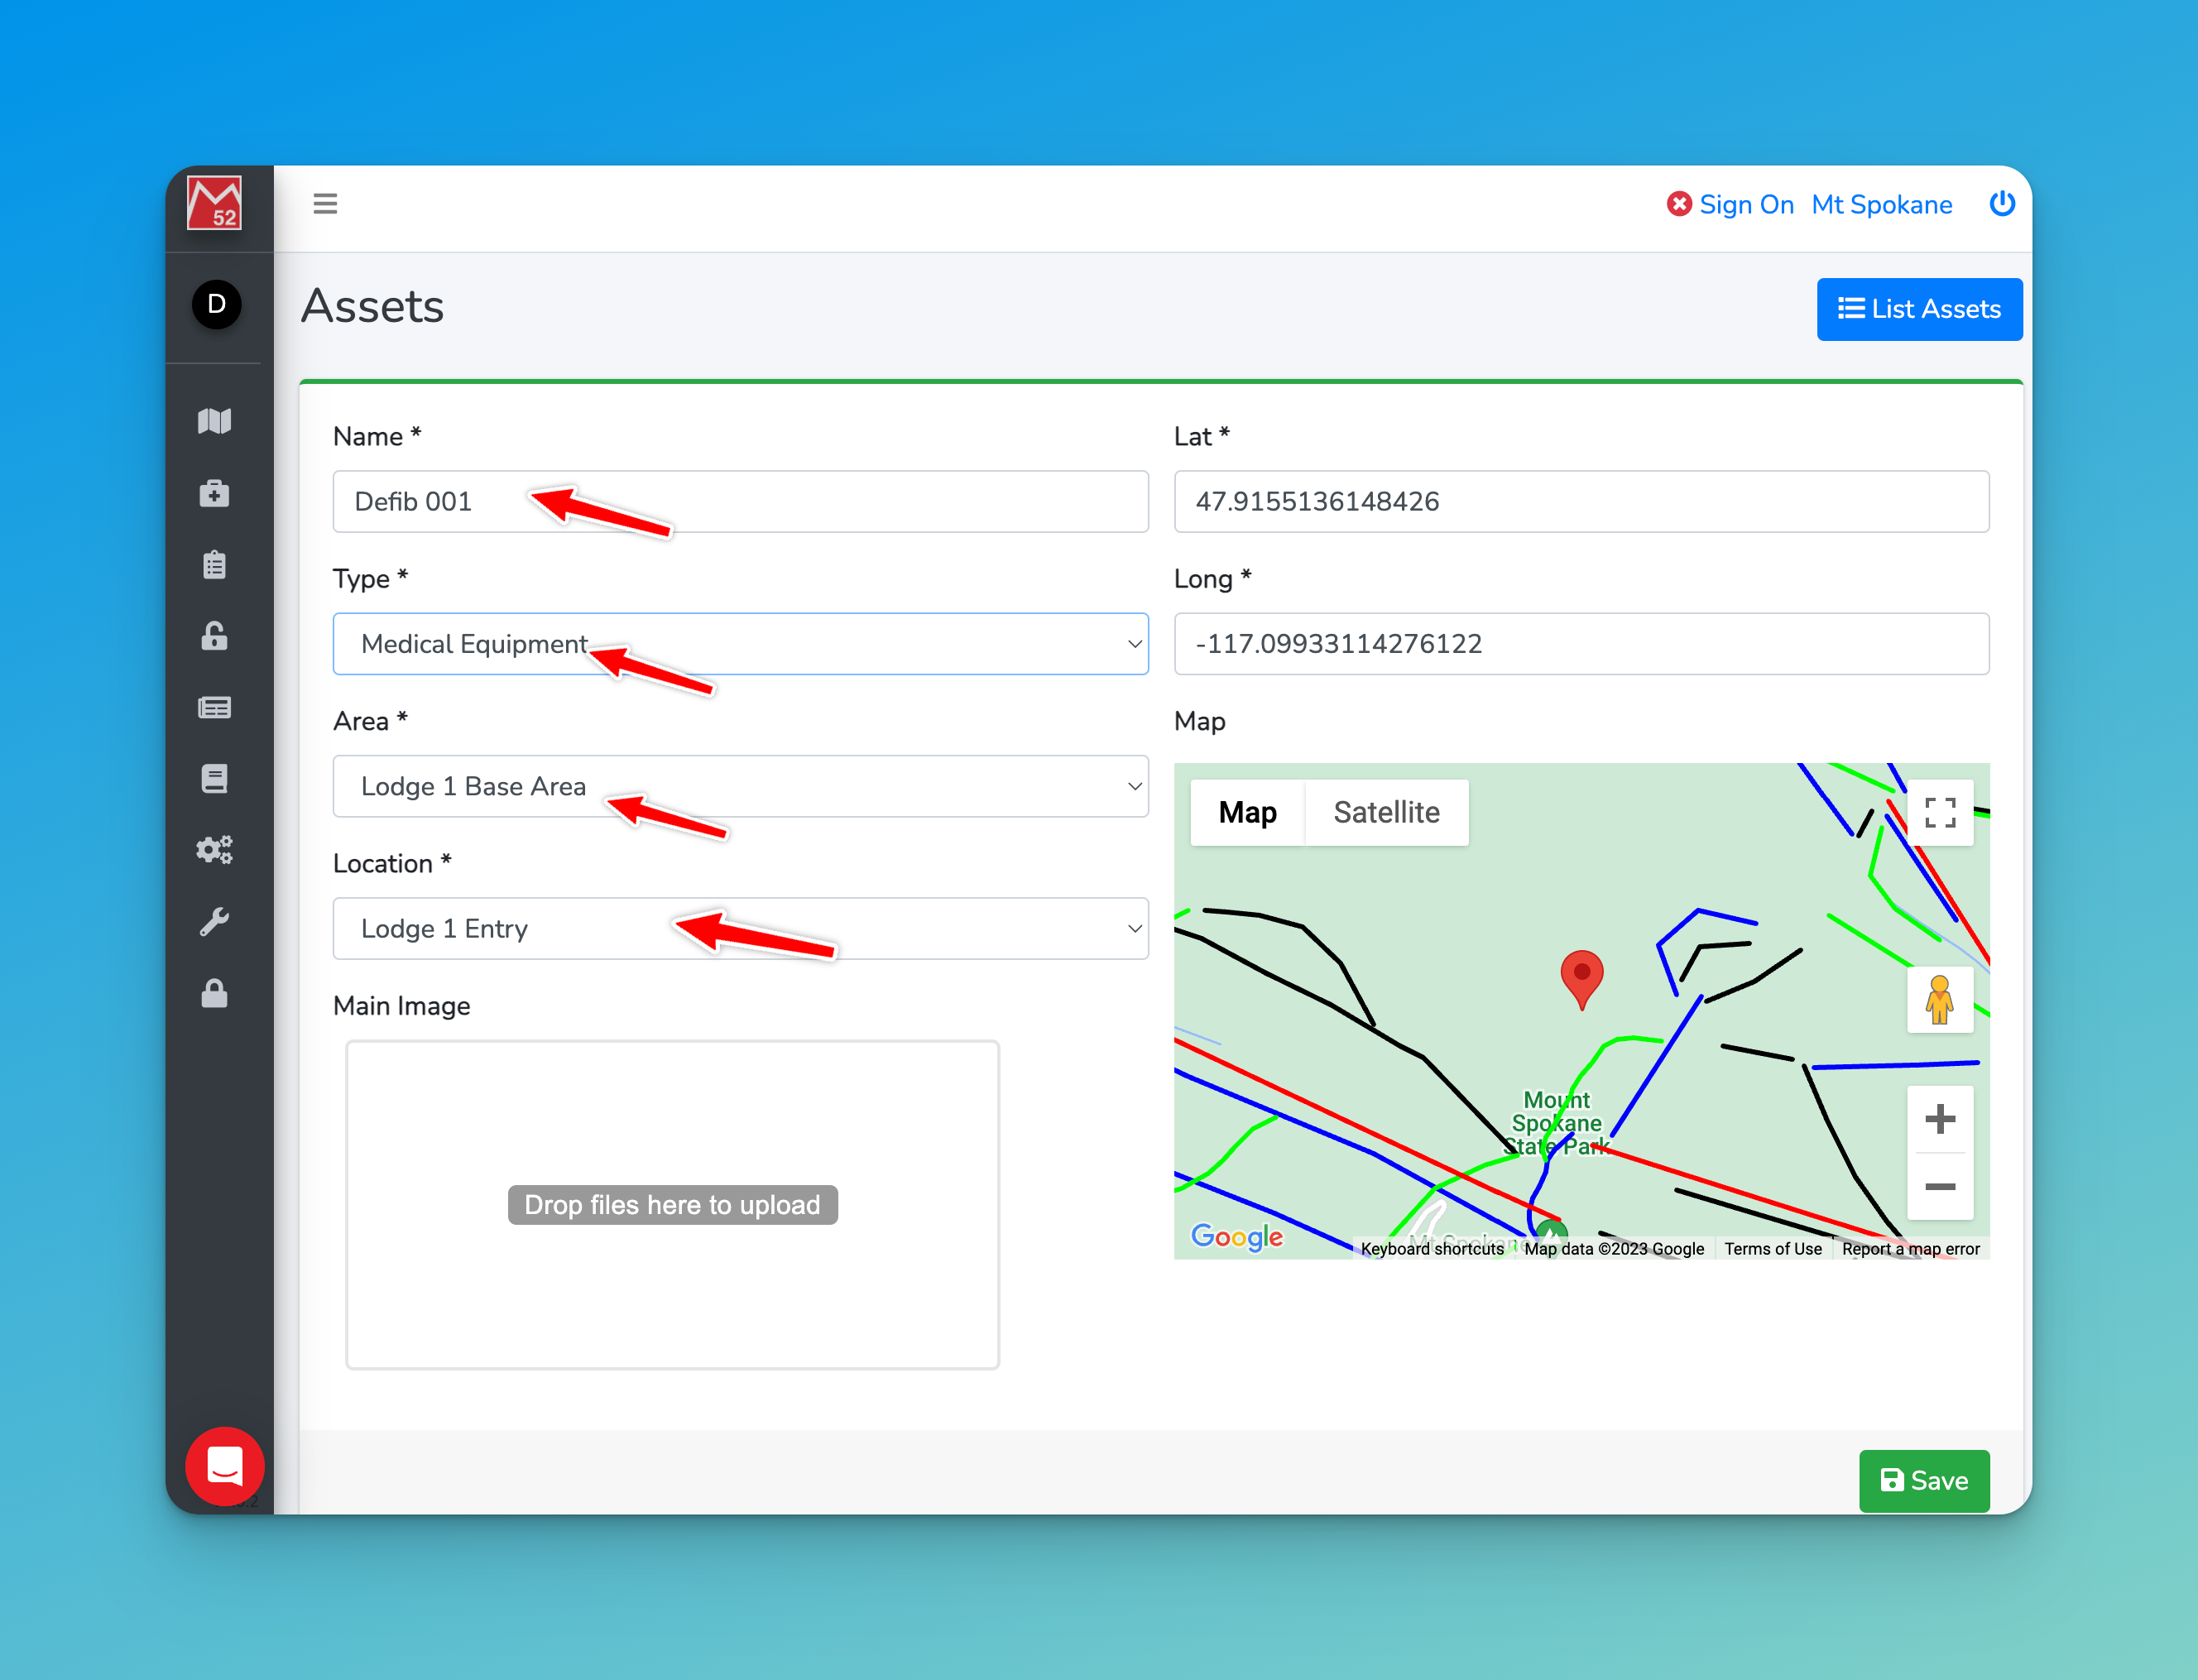
The map location, Lat/Long will update to the Location you select.
Now go ahead and take a photo of this Asset in its rightful home. Ensure you have some context around it to show the location it is in, and feel free to add an arrow if it’s not clear.
Drag and drop, or click to upload from your computer.
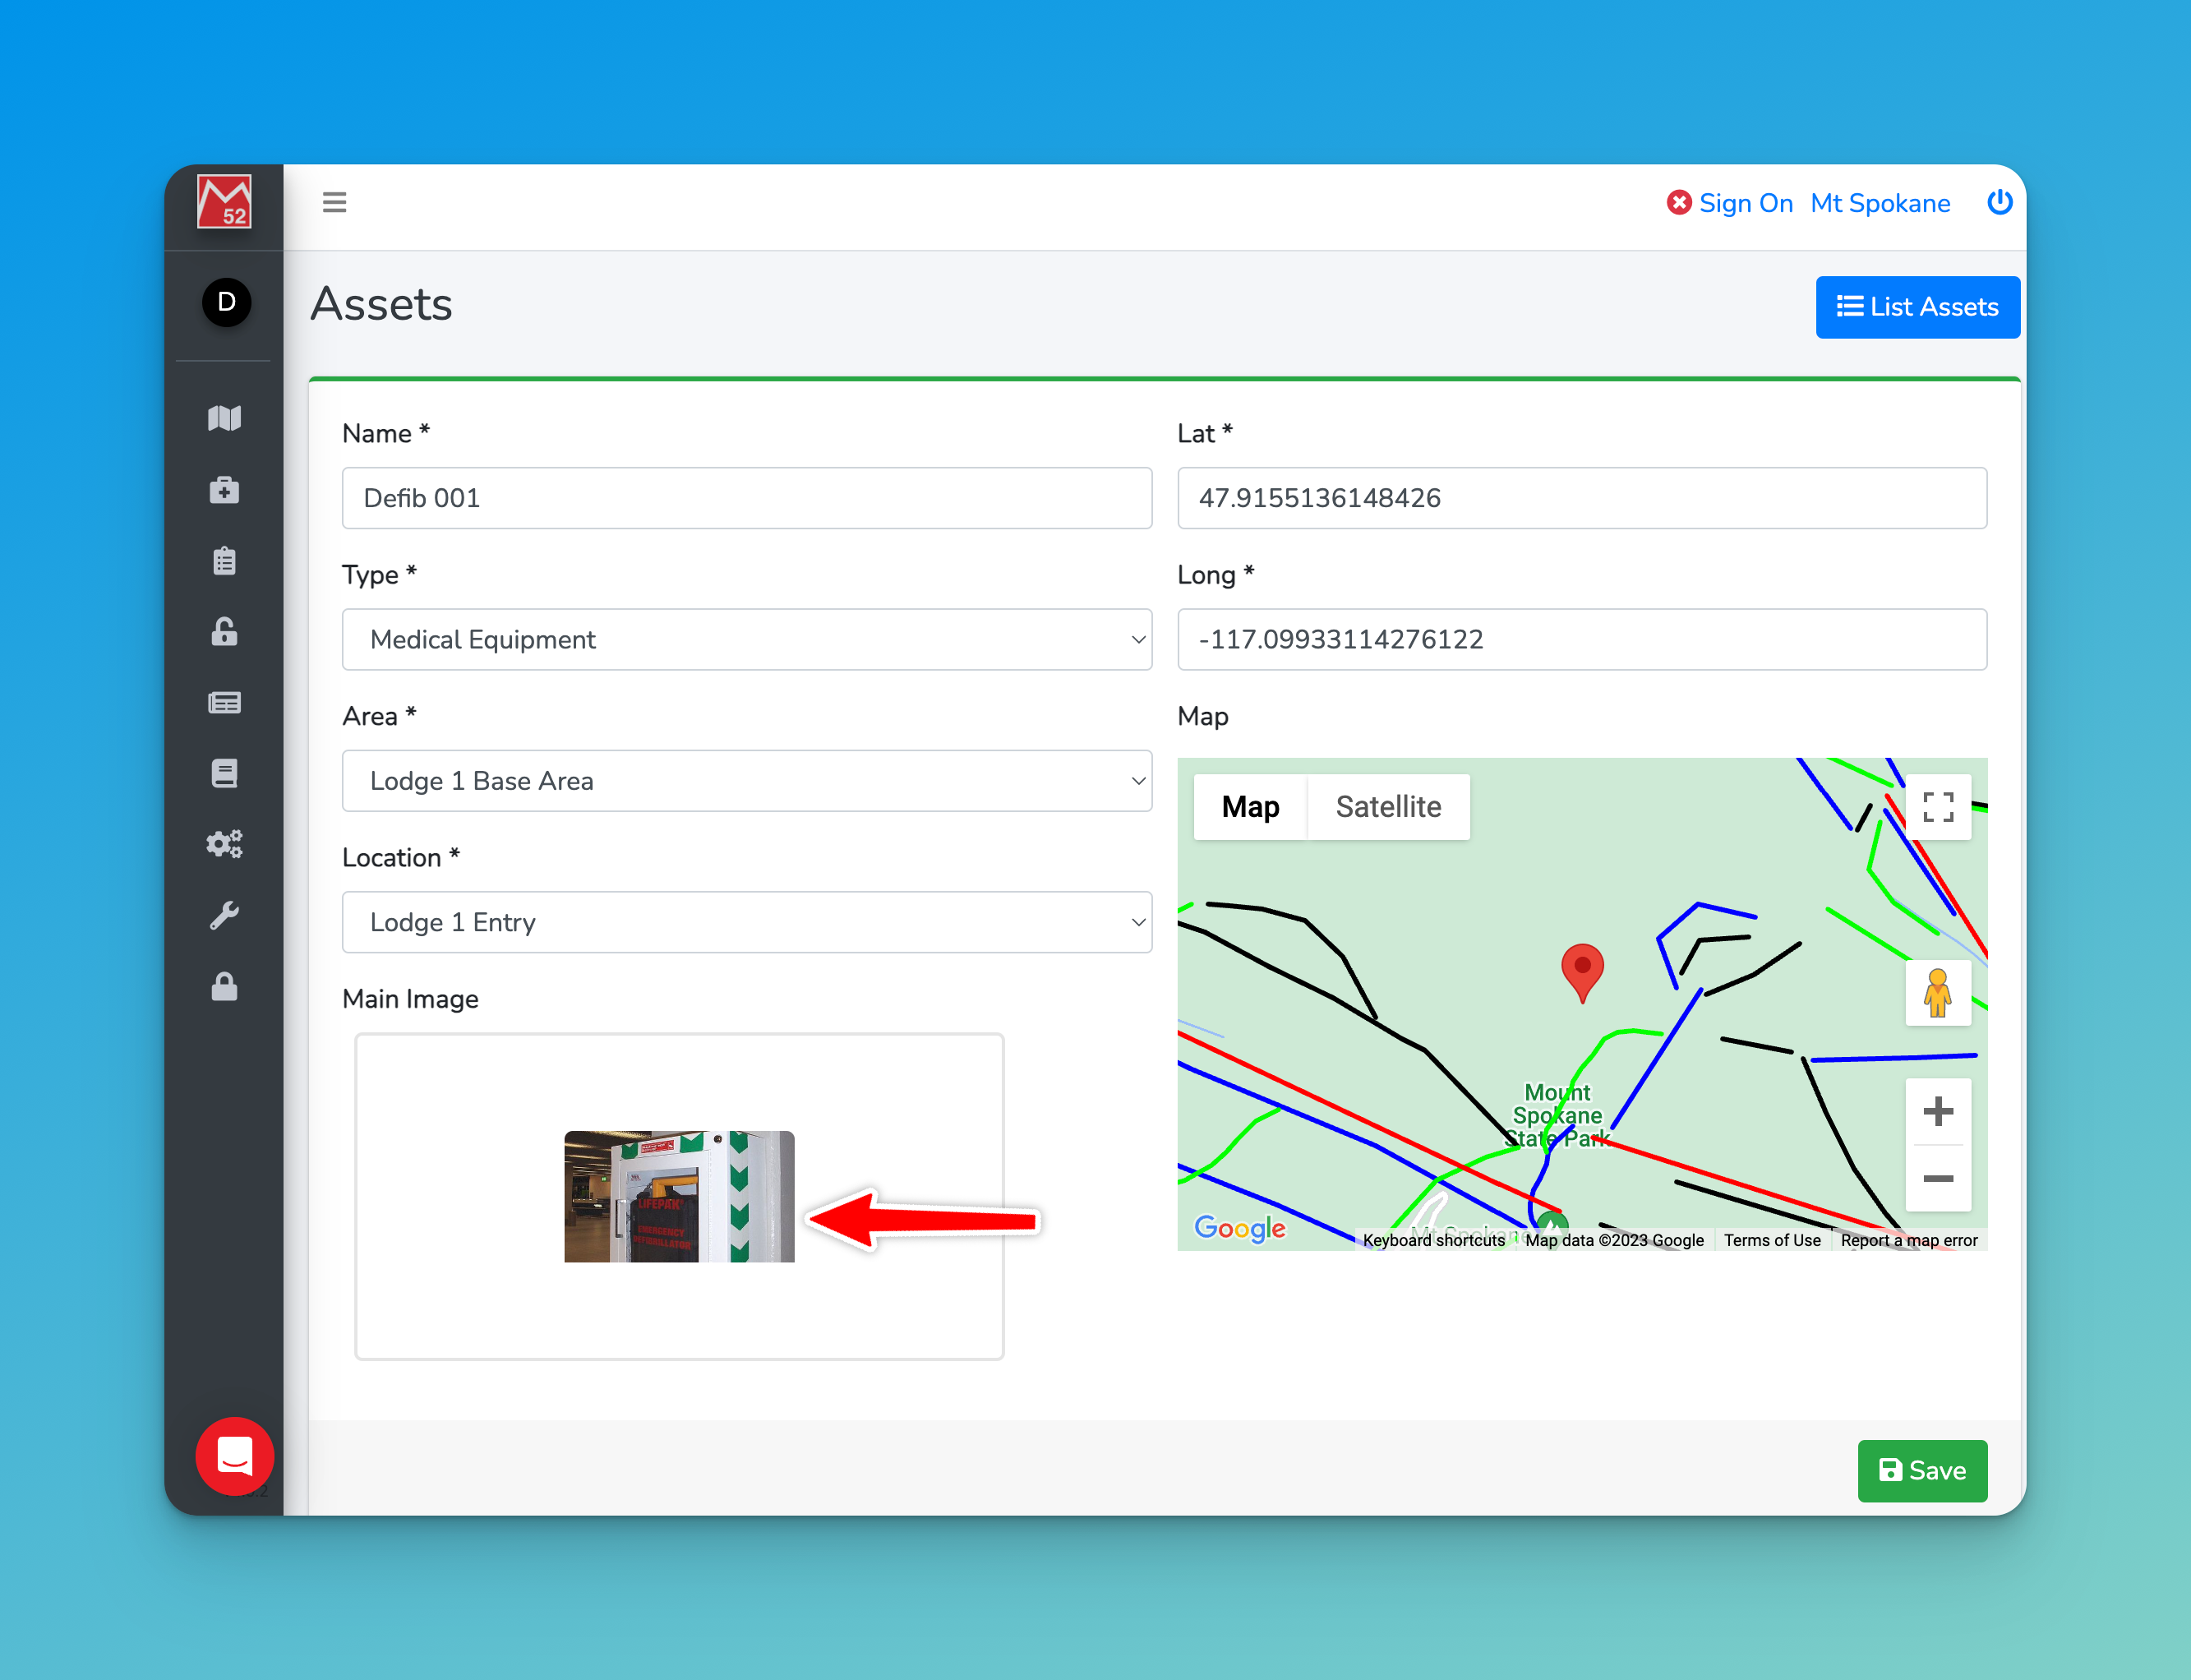
Super – now check the details and hit ‘Save’!
Next Steps
Assets need to be tended to, cared for and looked after – let’s add an Asset Check next!