The map screen is designed to assist dispatchers who are busy running between phone calls and radio calls to get incidents and every call to dispatch logged efficiently.
Start a new incident
From the Dispatch map screen, you can add an incident in one of three ways
1. Mouse right click (fastest).
Using your mouse, place your pointer where you would like the incident to be created and use a right click on the map at the position you would like to create an incident, and it will create it at that point for you.
2. Centre of the map.
Get the point at which you would like the incident to be placed in the centre of the view. Use the arrow keys on your keyboard, or click and drag to move the map around, and use the zoom to get to the right location.
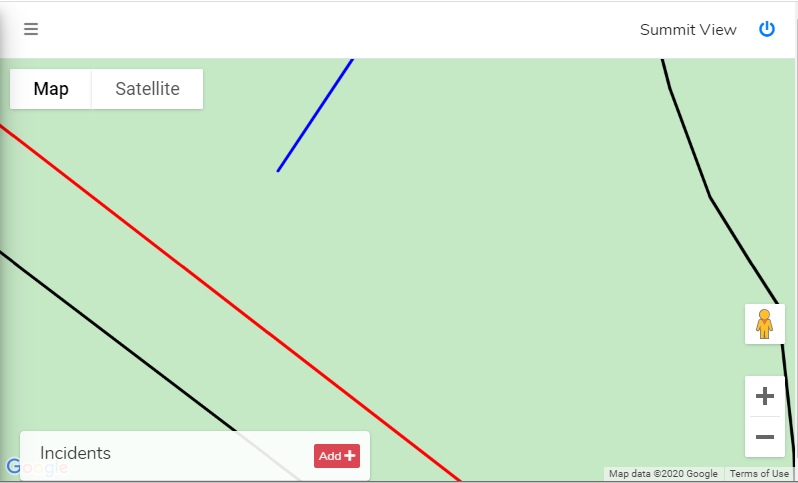
Click on the red “Add +” icon, on the bottom left

3. Using GPS coordinates (most accurate)
On the bar in the bottom left you can click “GPS”
You may then enter the lat/long coordinates provided to you.
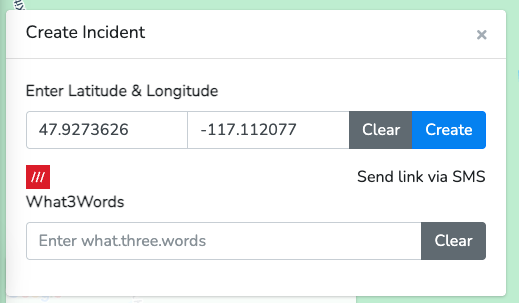
4. Using What3Words (least technical)
If you have trouble locating a guest based on their description, and/or they cannot provide you with a latitude and longitude, then you can also use What3Words. This sends the person a link via SMS, which they click, and it will give you three words that they can read back to you. You simply type those three words into the box, and it will convert that to a latitude and longitude to an accuracy of three metres. How to use What3Words
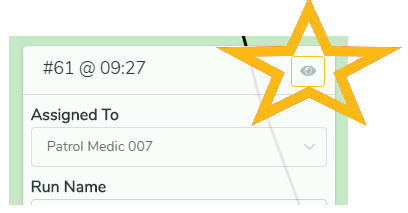
Managing incident data
When your incident has been created, you can then manage basic incident information using the pop-up. 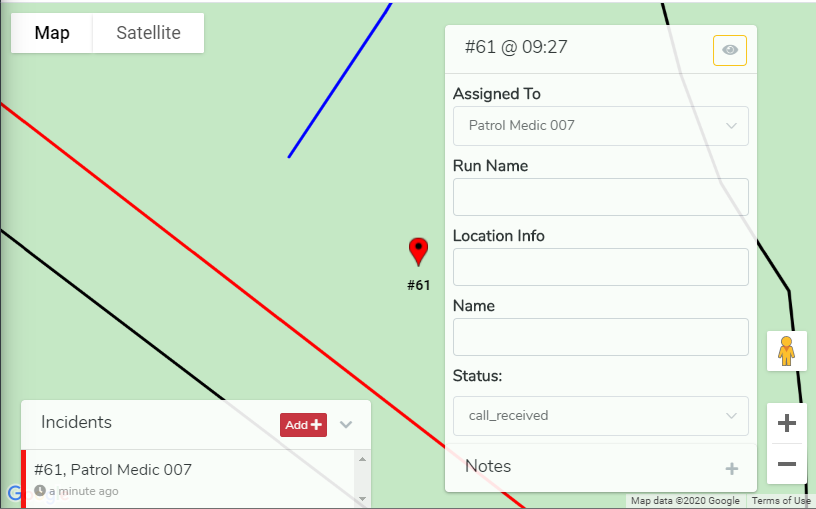
These fields will vary based on your configuration that you can customise for everyone in your team.
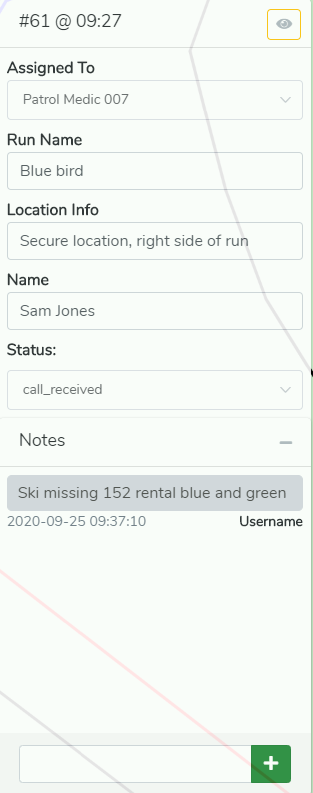
Click on the incident icon to open-up incident to view and populate more the details
You can also move the incident on the map by dragging and dropping the pin and manage status.
Check out our handy keyboard shortcuts for power users!